Detailing a large project is important and time consuming. The castle stands on the living room table and I try to put a few hours work in every day to get it to the point where I can start painting it (almost there). I put up a few more corpses.
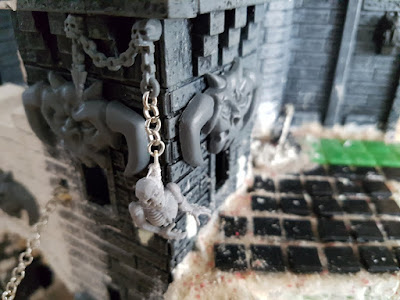 |
| You decorate your home with my friend, you'd better be a vampire! Oh you are...oh oh.... |
And I used a styrofoam cutter to make extra towers for the rooftop.
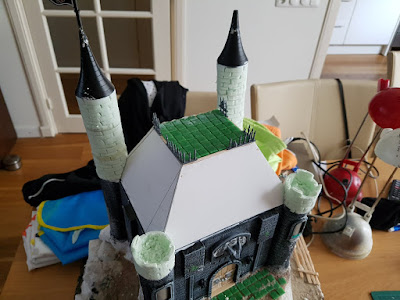 |
| The basic structure of the roof is foamboard. |
The fences around the edges are parts of the Rhino tank upgrade kit, I'm trying to get my hands on a few more to finish that bit up. Also I did not like the central window above the door. I don't think vampires really appreciate too many windows plus I had some leftover bits around.
 |
| Every castle needs an evil face above the door. |
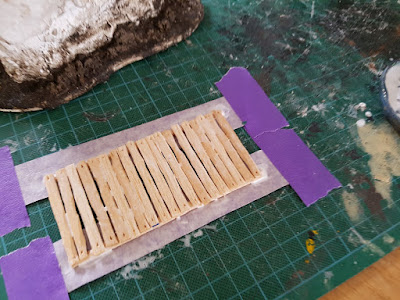
The next step is one that should be familiar to people who build model slate roofed houses.
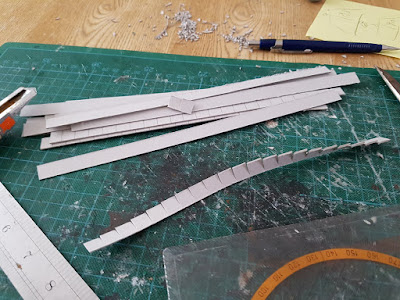 |
| Spending an afternoon cutting cardboard strips to size, what a glorious hobby. |
It's watching bad movies while cutting up cardboard strips. I used this to make the roof tiles and to start tiling the tower tops (not a lot of fun, that part). I've also used some PVA to fill the joints between the tiles.
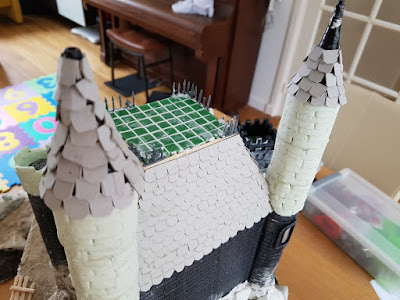 |
| The roof is nearing completion. |
Next step making the bridge between the ascension ramp and the middle part leading to the draw bridge. After tossing out a rather disastrously ugly polystyrene bridge I decided to go for simple wood.
 |
| The second bridge is going to be simple. |
So far so good. Next step finishing the last bit of roof and painting this monster.


No comments:
Post a Comment