Yesterday I finished the final two 'buildings' for the Townscape: the outhouse and the two tents. Let's just start with these and kick this quick post off.
 |
| Finally a chance to go camping in the Old World (or on the Mortal Realms). |
In the
previous post I finished the Manor House, Cottage, Customs House, Hovel and Temple. The stables had to dry to get walls, roof and details added. Over the past weeks I spent rather a lot of evenings and weekends working on the final Townscape buildings.
 |
| It took a bit more effort to make actual Dutch doors on the stables, but it was worth it. |
For a start I used air dry clay and Green Stuff World texture rollers to add a brick pattern to the stable walls. Even though I strengthened these beforehand it still took a bit of skill, patience and didn't come out quite as well as the customs house (all the doorways reduce the structural integrity of the stable box shape regardless of extra supports on the inside). I had a bit of fun going off template to add Dutch doors to the stables (hey Dutch door is a thing, thanks Google translate, never knew that).
 |
| A good old fashioned jail (or maybe experimental mental hospital?) is exactly what the better kind of tabletop scenario needs... |
Last time I finished cutting and gluing the walls of the jail (realizing belatedly I could've had an easier time of it, but lets not remind anyone of that...). I started out by texturing the walls with instant wall filler. I used plastering techniques with a popsicle stick to spread it on the walls. After allowing it to dry slightly I used a sponge (old GW blister foam) to even the plaster out a bit more.
 |
| I just had to add some bed sheets to one of the windows. |
Next I added windows to the top floor. I couldn't resist adding a classic bed sheet escape trick to the outer one. The bed sheets are two lengths of rolled up kitchen towelette smothered in PVA. I briefly considered going for bars instead of windows, but in older buildings (debtor prisons for instance) you usually find bars on the inside of a regular window frame (assuming you're not visiting one of those ghastly oubliette type prisons). Anyway I decided I could get away with modeling it like this (and it saved me the effort of modeling a bunch o cell interiors).
 |
| Making reinforced doors is not as hard as I thought. In the foreground the plastic rod I use to make the door handles. Just slice a little round off and use a smaller plastic rod (half of it) to make the hinge. |
As it is a prison, I wanted the doors to look really reinforced. Earlier this year (when we still could get out in public safely) I visited a 13th century brick castle here in the Netherlands and noticed the seriously reinforced doors have a lot big of metal spikes bashed into them. I decided to try and emulate this look. Here's how I went about it.
 |
| Acupuncture, Warhammer style... |
I stuck bits of (halved coffee stirrer) wood to a piece of cardboard (my standard method to make doors). After adding cardboard 'hinge straps' I used a needle to pre-stick tiny holes in the wood. When I had enough holes I carefully stuck a needle in each one. Next I put a bit of foamboard beneath the cardboard side of the door and used the back of a pencil to push the needles in further. At this point I flipped the door on the side and used the pencil to carefully push the needles all the way through. My advice: don't forget to use a pencil, it'll save you days of hurting fingertips...Also never enter this building, the inside looks like a pincushion ;)
 |
| Adding the tile roof. I also found an interesting looking cat-o'-nine-tails in the flagellant bits box (and a message board). |
The roof of the jail kept me wondering for a number of days as well. It is one of the only roofs in the Townscape that's obviously not slate. It looks like a combination of tile and metal plates in the book. I had some tries with a plastic cup (too round), bits of wood (way too much work) and clay (too much work without a proper texture roller). In the end I decided to give it a tile roof using a technique I tried out on
the Veerhuis I built two years ago.
 |
| The barn door on this work shed is huge. I also had to use a bit of trickery to properly space the shutters on the side windows. |
Next up was the work shed. A long building with a rather markedly huge front door. I used the needle technique for the jail door to make the hinges stand out on this building.
 |
| I think I can safely state that I have exposed brickwork down to a pat now that I've reached the end of the project. I'd almost revisit page one.....nooooooo! |
Another fun detail was adding a lot of exposed stonework. Aside from that it was a bit of a standard building. As it is building number 34 I made for the Townscape I guess I'm entitled to get a bit blasé here.
 |
| Half way through sticking on half timber here (and promising myself 'only one more house after this, then no more half-timber for at least a year'). |
Going slightly out of sequence was the Gabled House. I had to give the walls extra time to dry before adding the gables to it. Also I ran out of PVA and balsa wood around this time in the project. But on the plus side, after this one I only had one building with half-timber left to do: the House. I finished that one as well, but apparently I forgot to take any WIP pictures of it. So for now you'll have to take my word on it.
 |
| I can't wait to start painting these. May have to go on vacation first though. |
I spent a bit of time in the shed sorting out MDF bases, only to find out all the buildings fit on one piece of leftover MDF that has been an obstruction for the past two years. You can spot the top of the House next to the jail on this picture. I haven't yet taken the jig to the MDF as (at the time of taking this picture) both kids where asleep and I wanted to keep it that way.
 |
| I could've skipped the outhouse interior, but I didn't want to. |
Instead I decided to go a bit crazy on the last two buildings (I'm rather firmly decided on ignoring the Tower*). I decided the outhouse really cries out for an interior. (*this won't last)
 |
| I even made a small lid for the hole in the box, but I did not snap a proper photo of it. |
After building up a crude box to sit on (add an h there if you like), I added planking on the inside and outside, including a doorframe (anything to cover up the foam board).
 |
| Almost all the doors on the Townscape where closed doors, saving me a ton of time for not having to build them like this. |
The next step was making a door by applying PVA to wood that was temporarily fixed on a bit of masking tape. The cross planks actually add a bit of structural integrity here.
 |
| I took a lot of poking with a scalpel (and sweating it) to make this heart shape. I'm no sculptor, but I'm quite pleased with it. |
After the PVA dried I got extra wild and added a little heart shape in the center. Let's be honest, that touch was impossible to resist.
 |
| When nature calls my troops'll have a place to run to. |
Now to find an almanac to hang next to the 'doos'* as they would say here in the Netherlands (*box (old fashioned Dutch for a toilet (for obvious reasons))).
 |
| Making tents was as easy as I hoped it would be. Rather surprising as in most cases in this hobby it is the opposite. |
As I suspected, cutting the tents was the easiest part of the whole project. I used 200 grams paper to make them, following the basic shape from the Townscape book (and promptly forgetting that you can add a glue strip to paper buildings).
 |
| Adding texture and strength to paper buildings is important. PVA to the rescue! |
I folded the tents into shape, rolled up a bit of flap on the front side and used cuttings to reinforce the inside of the tent on the back. I used other bits of the same paper to make the patches on the tents. As a final touch I covered both tents in a thick layer of undiluted PVA. This gives the paper a plastic finish. I'll fold them into a better looking final shape when I glue them to their base. The tents were a fun finish to the Townscape project. Where the outhouse took me about three hours to build, the tents where finished within an hour. Hmmm should I make a tent city next?
 |
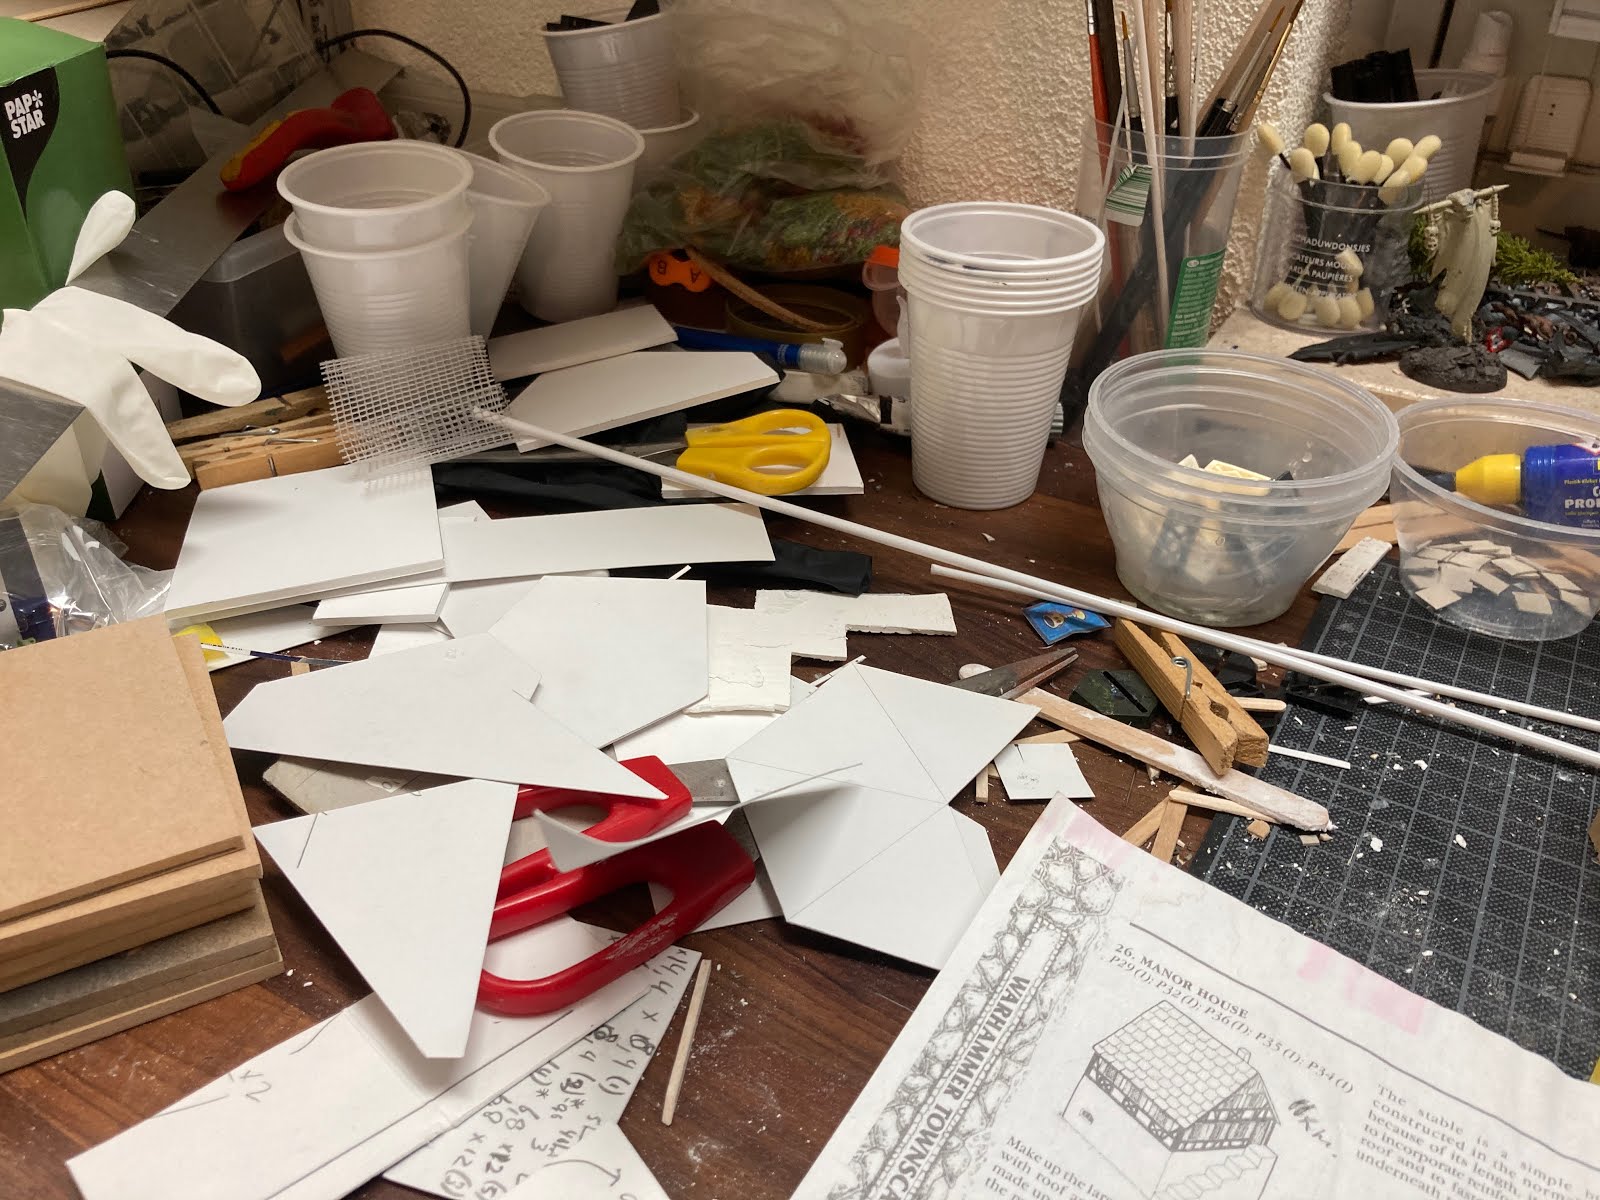
| I'll have to add a very thorough cleaning up of my hobby table to the list of things to do now that the rough work on this project is finished. |
More importantly I've build every building in the Townscape excluding the Tower. Maybe if I think of a creative way to interpret this silly standalone box I'll build it after all. But to be honest I have prettier and more useful towers in my terrain collection. Also I now have 37 pretty buildings, enough to fill about three wargaming tables with a small village to fight over. If I had correctly estimated the amount of work needed I don't think I would've started. Right now, I'm going to miscalculate the time needed to paint this last batch of twelve and finish the project with the next month or so :)


Awesome work as always! Love your terrain, such great detail and looks amazing.
ReplyDeleteCheers! A few more days on holiday and the painting can begin :)
DeleteJust a brilliant project! I really admire the work involved and appreciate these detailed WIP threads. I enjoy reading through your process almost as much as seeing the finished product!
ReplyDeleteThanks, I enjoy writing about the hobby a lot, and these comments keep me going :)
DeleteThese buildings really have been amazing to watch you build. Of this set I think the jail is the most interesting, and I love the bedsheet escape.
ReplyDeleteAs an aside, what do you call "dutch doors" in the Netherlands?
I just got caught up on your blog (which I had been saving for months as a treat) and you have been very busy! Loads of great stuff that I will have to go back and re read.
Welcome back and thanks for the compliments :) I had to look up what we call Dutch Doors here (the default seems to be 'one of those half-doors'). The proper names are either boerendeur (farmer's door) or duodeur (dual-door) unless they're actually used for a stable in which case its a staldeur (stable door).
Delete