Showing posts with label War Machine. Show all posts

Thursday, May 8, 2025

The muster is called, the host assembles, and the peasants showed up as well!

After reappearing with a shameless plug for my first book, it's about time I got back to writing about slapping paint on unsuspecting miniatures. Writing, to be sure! I have not been sitting on my hands for the past months—quite the opposite: I have a finished projects backlog to write about. This is a marked contrast with my usual the pile of shame too unfinished to write about. Anyway, on to a lot of painted miniatures (not all at once). Here's my completely finished (cough—not quite—cough) Bretonnian muster.

If they had a mighty keep inside the Mighty Fortress, they wouldn't need tents to sleep in.


Thursday, May 9, 2024

Dwarf Gyrocopters join the throng

I believe that the odds of arriving late increase with your proximity to work or school. In the same vein: the less you have to paint to finish an army, the greater the chance it'll never get done (yes there's a Catch 22 there ;). With that in mind, I forced myself to finish the final two Gyrocopters I needed to complete my Dwarven throng. Well okay, I painted three, because for some odd reason I printed three of the things.

Hojotoho! Hojotoho!

Monday, September 12, 2022

Titandeath

My happiness over having a 28mm scale Warhound titan was rather short lived. A few days back while drinking my morning coffee I heard a rather ominous crashing sound from the hobby room. As I walked over to investigate, I found my new titan in quite a lot of pieces, spread out over the floor. Insert your own graphic language here, pretend it is in Dutch and you'll have a reasonably accurate facsimile of my morning. Long story short, I have two pieces of awesome terrain :)

Titans do not make for great flyers. Who'd have thought.

Sunday, August 14, 2022

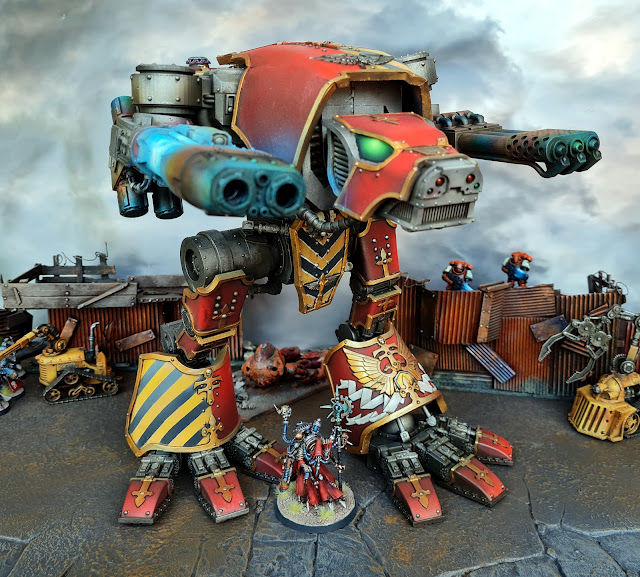
Warhound Titan power up detected

Lets start with a very short observation: I love titans. I was awestruck seeing the iconic John Blanche artwork gracing the cover of White Dwarf 108 and that feeling hasn't subsided since. It inspired me to paint a whole bunch of (new) epic scale titans a few years back. Now, with a 3D-printer just begging for work (and lacking common sense), I went ahead and printed a 28mm version of a Warhound class Titan. I got so enthused, I managed to slap paint on it faster than the time it took to pull the parts out of the printer.

I really need to think up a properly menacing name for this thing. Suggestions are very welcome :)

Monday, August 8, 2022

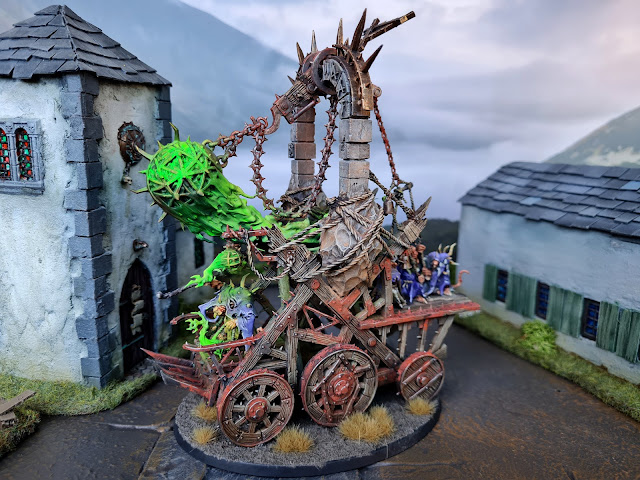
A Skaven Plague Furnace rolls into view

 Aside from a rather over the top crazy 3D-printing project that's taking a lot of time, I've been refocusing on my Skaven horde. Just to be sure: I never fully take my eyes of them, they are a rather untrustworthy bunch after all. One of the clans in my collection that really needs a boost is Pesilens. My Plague Monks need reinforcements. I have good news for them: there are several extra units lined up (and glued together). This weekend I painted a Plague Furnace for them to die cluster around. 

They see me rollin', they hatin'...

Friday, December 25, 2020

A third Screaming Bell rolls onto the scene

Christmas 2020 is upon us and I have a little lot of time reserved to get down to some serious painting. Before the new models pile up I had to get this one photographed and put on the blog. I actually completed this Screaming Bell a few weeks ago, but as I wanted to actually be able to take some time off during the holidays, didn't have the time to photograph it. Anyway, here's my third Screaming Bell in all its glory.

As an aside this marks the second model I've based on an laser cut MDF base. I should do a post about those somewhere in the future.

Saturday, November 28, 2020

Classic Screaming Bell painted up and ready to go

"The Screaming Bell is one of the most fearsome creations of the insane Warlock Engineers." With those words GW introduced a large, chariot-like model for the Skaven. To my surprise that was in 1993. I thought the model was older. I remember having the budget back then to get either a Screaming Bell, a Doom Wheel or a Verminlord. As my standard opponent was fielding a Great Unclean One at the time, I picked the Verminlord (and I restored the model a while back). With a recent lucky find on a second hand website I've been able to finally add a classic Screaming Bell to my collection.

Come to think of it, this bell is quite on time for Christmas this year.

Sunday, January 27, 2019

Gob-Lobber restored and painted

On New Year's Day I was lucky enough to spot this Gob-Lobber being offered second hand at a reasonable price. Aside from my Mighty Fortress project, I've been working on and off at restoring this war machine to its full glory (or at least as full as I can manage). I like a lot of modern miniatures GW puts out, but as far as Dwarves go, nothing beats their late eighties and (very) early nineties work.

Who knew Dwarves could be that cruel?

Tuesday, May 22, 2018

Zzzzap! Finished Skaven Warp Lightning Cannon

I have to admit I'm behind on my blogging. Too much work and the strange need to see my family seem te be blocking my attempts to blather about my hobby online. I haven't even found the time to wax enthusiastic about the newly announced Warhammer Fantasy Roleplay edition (or the yet to be expanded upon announcement of the Age of Sigmar rpg). Then again, it will only arrive around August so there will be plenty of time for ranting and raving with an actual product in hand later. Around the last post I was preparing to paint a lot of different Skaven. As usual I did not finish them all (just yet). I did strip, repair and repaint this classic metal Warp Lightning Cannon.

Blast, blast, blast away my loyal chained up crew....as soon as I've moved to cover away from the machine...

Wednesday, December 20, 2017

Ready! Aim! Miss! Glide! Hit Anyway! Yes, my Doom Divers have paint on them!

As a copywriter I'm opposed to the use of exclamation marks (the only exception being: 'We've got your son/daughter! Leave money under the old oak tree!'). Having said that, I couldn't resist on the title of today's post. As (most of) the goblins in this Doom Diver battery have been languishing in half painted hell for about two years I am beyond happy to actually finish them.

I pity the fool who goes up against this battery...

Monday, November 6, 2017

Snotling gits reinforce my Greenskin ranks...well they'll be sort of standing there in the background....

Why would anyone in his or her right mind add Snotlings to a Greenskin army? Please feel free to put your answer in the comments, I don't have one ;) As to this ragtag group: a few years ago I had the chance to buy back almost all the lead models I sold around the start of the nineties. Among that lot was my Snotling Pump Wagon. I think I bought it in a blister when I just started collecting. On re-acquiring the Basic Pump Wagon I stripped and repainted it. As Age of Sigmar was not on the radar I based it square and stuck it in my display cabinet. Zap forward to opening my Orruk project box in September. It contained a rather large collection of unpainted Snotlings (41 plus a pair of drunk Snotlings) and a second (half-finished) pump wagon with expansion (a second deck was optional way back then). To jump forward to the conclusion of this post, all of the models have a coat of paint on them now and the old pump wagon has received a new base.

Now these gits are ready for almost nothing!

Monday, September 11, 2017

Painting myself out of my painting slump

As you may have seen by the lack of updates, I've hit a painting slump. Well, real life got a bit busy as well with a possible move in the near future and work, work, work (use Warcraft Peon voice here). I did finish the Genestealer part of my cult, but that was about it.

Sometimes you just lose the joy of working on a project. The best remedy (IMHO) is temporarily storing the models and moving on.

Wednesday, May 31, 2017

A Lightning Cannon, Doom-Flayer and Stormvermin join my Skaven army

My current obsession with Skaven continues with a few extra units that have joined my army. Around my birthday at the start of this month I decided to give myself the present of more Skaven for an army that I've been collecting on and off for the past 25+ years. The dawn of the Age of Sigmar makes the Skaven a very versatile and colorful army that allows you to play in many different ways (most of them involve dishing out a serious amount of nasty mortal wounds). My army lacked the excellent new Thranquol model and it was the first I assembled and painted (it is pictured in the link above). The second unit that has been missing for all these years has been a warp lightning cannon. I think the original model arrived on the market just as I went into the traditional 'beer and women hobby hiatus'. Anyway I got a new plastic one, had some fun being headstrong during assembly and created this model.

Rat or no rat, just kill anything that comes to close, close, squeee!

Friday, March 10, 2017

The Siege of Fictitia

To celebrate the fact that I finished my new siege towers, I placed my Realm of Battle board outside, took some old Morheim terrain and a city wall out of their storage containers and made a little display I dubbed 'the Siege of Fictitia'. The ragtag defenders serve as a reminder that I really should build a full Order army somewhere this year. Let's not waste to much words and just go for a bunch of pictures now.

Here is a birds eye view of the final assault on Fictitia by the Warband of Malagor the Malicious, sorcerer lord of Tzeentch.

Painting the Age of Sigmar siege towers (part 4)

There is going to be a murder of posts today as I finished up the paintwork on my siege towers. To celebrate (and to show off) I made a separate series of 'narrative' photo's that will be posted in a second post. First the finished paint job.

You're facing the wrong way you idiots!

Wednesday, March 8, 2017

Detailing the Age of Sigmar siege towers (part 3)

Now this project went rather faster then expected. I planned to be working on it over the course of a few weeks, but I seem to have finished it within three evenings (and a few lunch breaks and a bit of a Sunday afternoon). Lets start of with the result just prior to painting.

"Where is the castle? Why didn't you stop when we passed that nice looking peasant to ask for directions?"

Tuesday, March 7, 2017

Paneling the Age of Sigmar siege towers (part 2)

On sunday I built two barebones skeleton to make my siege towers. Yesterday evening I continued with the project, first focusing on paneling the towers (and putting floors in) and making a start with the detailing. This morning my towers looked like this.

The siege towers need a bit more work before they can be used to storm the walls.

Monday, March 6, 2017

Scratch building siege towers for Age of Sigmar (part 1)

This weekend I decided I need siege towers in my life. That is to say on the battlefield. I have scratch built a rather nice collection (IMHO) of ruined Mordheim buildings, I have a plastic city wall and there is an amazing collection of war scroll that allows you to host some spectacular sieges using Age of Sigmar rules. What is lacking in are a couple of siege towers (and maybe a battering ram). So without further ado let's go for minimal planning and maximal cutting. Measure once, cut twice and other idiocies that make scratch building fun. To relieve the suspense slightly, this is the result of a few hours of hacking and slashing.

No plastic wall will be safe once these siege towers are finished.
Before I got there I had to pick up my bundle of balsa wood. I love this for scratch building. It is extremely soft so you can cut and modify it with fancy tools like a blunt scalpel, you fingernails or whatever you grabbed when you randomly took something of the table. Balsa wood is available in different thicknesses and sizes, I occasionally take a bundle of 5mm x 5mm 'beams' and 5mm x 1mm 'planks' with me from the local crafts store, it helps to have some to hand if the hobby itch takes you in directions that require balsa wood. Next up was laying out some tools and eight Lego wheels (I bought too many of these when I discovered the size was only slightly too large for Warhammer/Aos purposes.

A pot lid full of paint and PVA, cocktail sticks, cotton swabs and Lego wheels, I fear we've entered the home of a wargamer.
In the meantime these Lego wheels served me well to spruce up the Black Coach (the wheels that come with it are too tiny I think).

I love this model even more with the larger wheels stuck on, it just feels right.
For the next step consisted I looked at pictures of the old Games Workshop/Citadel siege tower and found some directions as to the size of it of (a touch under 4 1/2 inches wide, 7 and 1/3 inches tall and the bottom of the door is 3 1/2 inches from the ground). I took a wall from the old plastic Citadel fortress and used it to take my own measurement and draw up a quick sketch of the tower to be (pictured on the red post-it below).

Bits of balsa wood cut to size and my deeply thought out construction plan (har, har). Also the protective cap of my scalpel without the scalpel in it. That is troubling if you consider my long list of self inflicted scalpel cuts...
One of the many great attributes of balsa wood is its ability to act as a sponge for PVA glue. I have a technique for making doors with it. It consists of gluing the bits that will make the door to some masking tape, draining it in PVA and removing the tape after drying (maybe I should make a tutorial on this later on). I tried the same on the frame of the siege towers.

The front sections of the siege towers have been covered in PVA, next up using a cotton swap to flatten down the layer of PVA.
For those of you wondering why I'm working on two at the same time. I think a single siege tower will look lonely on a battlefield. Knowing my own fickle mind the odds of me making a second siege tower after finishing the first one (within a normal human time frame) are rather low. So I made two instead of one. The beam on top was supposed to be the 'roof' of the tower that will feature wooden battlements for archers to shoot down from.

Getting carried aay, glueding side beams onto the side sections of the siege towers. Also the scalpel is still uncovered and at large somewhere.
Here is a shot of all sides from the tower drying before final assembly. I usually take my scalpel to all balsa wood prior to assembly, cutting of random slivers to make it look well worn. I decided not to do that yet on these towers. The entire frame will be dressed with more wood anyway and I'll just cut a bit into the visible parts later.

Removing masking tape from a glued join. 
After giving the glue (barely enough) time to dry I took the masking tape off to check the connection and assemble the towers. This was a bit disappointing a the construction turned out to be very rickety. Now I might assume the towers will get more strength and body as I add planks to them (and after I have given the glue a proper amount of time to dry), but I'm worried that the pieces will fall apart under the stress of gaming. So I decided to skip the glue and use needles for the construction instead. Did I mention everything works on balsa wood?

Glue not working, let's use needles instead. Happily I had a box of these around to simulate rivets with.
As needles require somewhere around zero minutes to dry before forming a connection I could assemble my two towers at a remarkable speed.

Well they are starting to look rather siege towery, aren't they?
Next came the important bit. Finding out if 'measure once, cut twice' is a smart replacement for doing this the other way round.

Now I know why the defenders kept giggling during my construction, perhaps I should build a wooden rabbit in stead. 
It turns out, that it isn't. The tower will have three floors. The top one will be the battlements that need to be higher than the city wall (that will work with this model). The second floor will feature a large drawbridge that the invaders can use to assault the battlements on the city wall. In the current design the invaders will have to crawl onto the drawbridge as the ceiling is too low to stand up. Now I have to admit that I'm not a HEMA-expert (neither Historical European Martial Arts nor the Dutch HEMA store), but I think crawling towards motivated defenders is not the best approach to combat. Luckily I used pins instead of glue. That made it possible to pull the top off the siege tower and replace the rear beams with longer ones. This raises the siege tower to proper heights.

The giggles have been silenced, my siege tower is officially high enough!
Next up was an easy part, cutting axles for the Lego wheels. I glued these in with a drop of PVA to each side. I'll see how I'll mask any ugly bits after the towers are fully assembled.

Let's put some axles to the wheels!
As the last step I glued a number of wooden coffee stirrers to the sides of the tower to start dressing them up. The nice thing about coffee stirrers (aside from being extremely cheap and managing quite well to look like heroic scale planks) is that these can be cut with scissors. So I just glue them on whole and cut them to size after they've dried (this also answers why you see all those bits of coffee stirrer on my work area). I also remembered (just in time) to add 'beams for the two floors inside the towers.

Okay, they still need quite a bit of work, but the basic framework is place. 
At this point I really had to step back and give the project a bit of time too dry, but I think I'm heading in a reasonable direction (towards the walls so to speak). Next up floors, ladders, walls, an interesting drawbridge and the battlement section on top. After that see how motivated I am to add some impressive details. Oh yeah and painting them.

Wednesday, January 11, 2017

Sacrifices on the go

The month of Tzeentch continues with the completion of my dedicated Chaos Warshrine. I love the idea of a floating viking longship carried aloft by mutated ogres.

The blue of the Tzeentch icon works rather well with the orange flames.
What I liked less about the model is the original driver. The model doesn't quite work for me on this vehicle so I tossed him into the bits box and used a Chaos Lord in its stead. The pose with the spear works rather well I think.

Have you got a minute to talk about Tzeentch, our lord of change and deceit?
I switched out his head with a (de-horned) Warrior of Chaos helm to give him a bit more sinister air.

I love the shape of this vehicle, it fits with the mutated and deranged viking aesthetic of the Warriors of Chaos.
All in all a nice model that will (hopefully) work just fine in enhancing my slowly expanding Tzeentch warband.

Monday, December 12, 2016

Another Grot war machine is ready for action

This Goblin Grot Spear Chukka has been lying around half painted for almost two years now. I finally decided to just go ahead, slap some paint on it and use it to start gaming.


Ready, aim, fire!