On sunday I built two barebones skeleton to make my siege towers. Yesterday evening I continued with the project, first focusing on paneling the towers (and putting floors in) and making a start with the detailing. This morning my towers looked like this.
 |
| The siege towers need a bit more work before they can be used to storm the walls. |
At the start of the day I had a few wooden slides up already. After breakfast I glued more wooden slides to the sides of both towers. This is a very quick and simple task and doing it in the morning allowed the glue to dry while I went of and worked for a living.
 |
| Slap on glue, slap on coffee stirrers.... |
After the coffee stirrers were securely stuck to the frame I used scissors to cut them to size. This process takes about 15 minutes in total (10 to glue the stirrers in place, 5 to cut them to size). Planning ahead takes care of the hours drying time the glue requires. To leap ahead, I repeated the same process at the end of my lunch break for the other side of the siege towers.
 |
| ...that is some precision work there ;) |
In between I wanted to put the inner floors in place. Without all the side walls in place they were easier to reach. For these I did have to cut a lot of planks in the (more or less) proper size. You can easily cut small stacks of coffee stirrers using side cutters or pliers. I find that cutting one plank to size and using that as a template to slide the pliers against helps speed this process along nicely. Lets have an action shot of that.
 |
| Action shot of me using pliers to cut tiny planks. |
I did some quick calculations as to how many planks were needed and cut the lot to size.
 |
| Did I cut enough planks for all the floors? |
After that it was just a matter of pasting some PVA (wood glue) on the side supports and laying in the planks, taking care not to slide these too closely together. I want a bit of a cobbled together look to these towers after all. After the floors were placed I put on the sliding on the other side of the towers and went back to work.
 |
| Featured on this picture is proof that I grossly miscalculated the amount of planks I needed for the floors. |
I took a few minutes during the afternoon to repeat the process on the front of the towers and also made of wooden frame for the exit on the second floor. Now the entire project looked like this.
 |
| The fronts of the siege towers have been covered in wood sliding. |
I can now rumble my siege towers towards the wall section, but it does rather lack that intimidation factor I would say.
 |
"Captain, I think we've forgotten some important bits."
"Shut up and get ready to.....aaargh!" |
Still with the wheels underneath the towers I have managed to build them to a proper height. Paste in a sigh of relief here.
 |
| Peekaboo! |
Next up I decided to make the assault ramps and start on some detailing. First up I created a work area out of masking tape.
 |
| Masking tape, it is miracle stuff for lots of wooden constructions. |
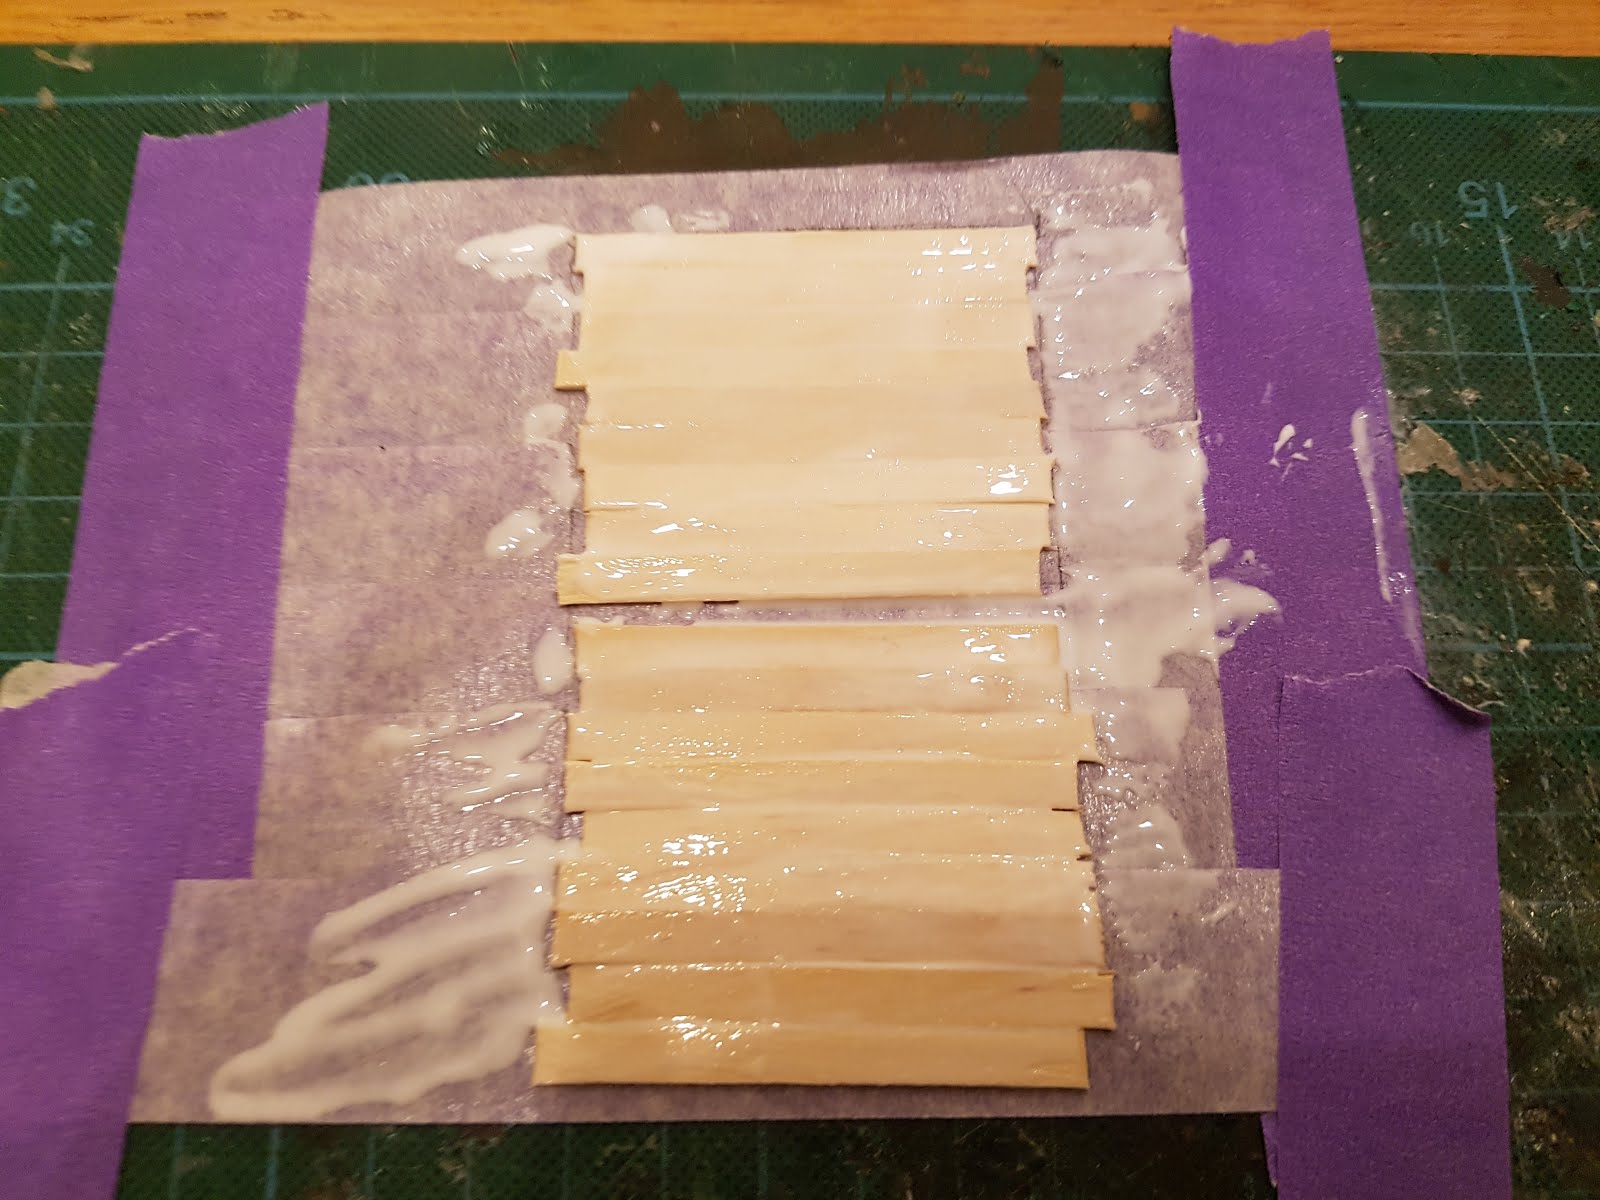
Next I took some of the wooden bits, sorry planks, I had left over from the floors. I measured the bridge should be 5 cm long and slightly less than 6 cm wide. So I pushed enough planks onto the masking tap like this.
 |
| The assault ramps have been laid out... |
Then I added a big blob of PVA.
 |
| ...covered in big dollops of PVA... |
And I spread this out over the (two) bridges.
 |
| ...and we have glued surfaces here. |
Time to let that dry. Next step adding more detail. First the easy bit. Faking the support for these wooden planks (I suspect real siege towers were never glued together with PVA).
 |
| Added fake supports from leftover planks, cut off the bits that were sticking out later. |
At this point I suddenly remembered the siege ladders in The Two Towers at the Battle for Helms Deep. These have rather impressive looking hooks on them, and I wanted the same for the assault ramps on my siege towers. So I cut of four identical looking bits from some old sprue (Ork Boyz I think).
 |
| Sprue, a versatile component of every bits box (just don't keep all your old sprues around or you'll end up in an episode of Hoarders). |
I cut off every bit that stuck out the wrong way.
 |
| Hack off everything that sticks out... |
After that I went a bit wild with the scalpel. I made sure no edges on these bits were straight and cutting the bottom bit down to points.
 |
| Hack off some more to make it look brutal! |
By this time the glue had dried enough on the masking tape that removal of the assault ramps was possible.
 |
| After the PVA is dry, carefully tear you project off. |
I added the hooks to the bridges and made something a bit mechanical looking on the back. I actually needed a few flat surfaces to glue the bridges to the towers (hence the blocks in the middle), but I didn't want it too look like I glued a flat surface to the bridge to glue them to the tower. I briefly considered ways to make it possible to move the bridges up and down, but decided against it. Too complex and it will probably break off during use anyway. Here are the finished bottoms of the assault ramps/bridges.
 |
| Bringing the bits together and adding some fake hinges. |
I had a bit of time left so I grabbed a bit of 1mm plasticard. Now I have to admit I loathe plasticard. It makes knives slide around in unpredictable ways, has a 2++ invulnerable save versus metal slides and generally makes it hard (for me) to cut off anything I want. On the other hand, you can cut interesting shapes in the sides of pieces you cut, and I needed that. So plasticard it was. I cut a bunch of metal panels to cover the bottom halves of the towers. I guess it would be more authentic if I green stuffed animal skins to cover a larger portion of the tower, but I feel like painting rusty metal panels so I'm going to ignore that bit.
 |
| The only good thing about plasticard is that you can easily cut it with scissors. |
After cutting a number of panels I took my time with a scalpel and roughed up the sides. Then I added some tiny holes with a small piercer (to simulate where the panels have been nailed to the sliding.
 |
| The only other good thing about plasticard is that you can add some interesting details to it. |
Next up was some precision gluing...
 |
| This PVA was not sloshed on in a random pattern at all...how do rumors like that get started? |
And I ended up sticking the bridges to the tower as well, using a few weighty bits to stop them from keeling over.
 |
| And a special welcome to my large tub of Vallejo Sepia Wash. |
After giving this some time to dry I added the sides to the fake hinges of the bridge (pictured on the top left of my cutting mat above).
 |
| I tried to make it look like the fake hinges were sticking through the balsa wood plank. Making a real hole of that size in that piece of balsa wood just splits it in two, ending dreams of making a moving bridge.... |
As you can see the top planks on the bridge have absorbed most of the PVA getting stuck together (and slightly plasticized) in the process without losing their individual 'plankiness'.
 |
| The metal fronts of the siege towers. |
I made and added a few more metal plates to the sides (will have to cover the ugly join on the folded plate).
 |
| The bottom of the assault ramps. |
And here is a bottom up look of the assault ramps on the towers. Now there is still one problem to fix later on as one of the fake hinges does not connect to its outer bit.
 |
| The tops of the bridges, I will need to add some mean looking chains holding them up here. As these will flow from the top ramparts, it will be added later. |
But I'm sure I'll think of something to cover that mistake up. To finish off I got started on making ladders using 1mm x 1mm square balsa wood for the sides and roughly 2cm pieces of cocktail stick for the rungs.
 |
| Making a small sized ladder requires cutting a number of cocktail sticks to size. |
Add all these to masking tape (yes the trick is almost getting old).
 |
| Adding it all together, not everything fits as well as it should... |
And slather on PVA.
 |
| ...lets hope a lot of PVA will hold it all in place. |
Now this actually does not look all that good, I'm keeping my fingers crossed that it will look better once dry (otherwise its back to the drawing board/cutting mat). Next up I will cover the sides of the towers with some cross beams (to make it look more solidly build) and get the wheels stuck under them properly. After that I will be building the ramparts for the towers, maybe add a bit more detail and then it's painting time!


Those hooks are awesome. I´ll copy your idea. It´s great.
ReplyDeleteThanks, I'm hoping they'll keep looking cool once the paint hits them.
Delete